Floor Drain Installation
Floor drains are essential components in residential, commercial, and industrial settings. They efficiently manage wastewater and prevent water accumulation, which can lead to structural damage and health hazards.
The Purpose of Floor Drains
- Water Management
Floor drains effectively manage excess water by channeling it away from floors and into the drainage system. This is particularly important in areas prone to water exposure, such as basements, laundry rooms, garages, kitchens, and bathrooms. - Preventing Flooding
By quickly removing standing water, floor drains help prevent flooding. This is vital in areas where heavy rainfall or plumbing issues could lead to significant water accumulation. - Maintaining Hygiene
Floor drains contribute to maintaining a hygienic environment by reducing the risk of mold, mildew, and bacteria growth, which thrive in damp conditions. Proper drainage helps keep floors dry and clean, enhancing overall sanitation.
Benefits of Floor Drains
- Protection Against Water Damage
Floor drains protect buildings from water damage. They prevent water from seeping into foundations, walls, and floors, which can cause structural issues and costly repairs. - Safety Enhancement
By removing standing water, floor drains reduce the risk of slips and falls. This is particularly important in commercial kitchens, garages, and industrial settings where spills and leaks are common. - Versatility
Floor drains can be installed in various locations, including bathrooms, kitchens, basements, garages, laundry rooms, and commercial spaces. They are versatile solutions for managing water in any setting.
Installation
- Planning and Assessment
The first step in installing a floor drain is careful planning and assessment. This involves identifying the optimal location for the drain, considering factors such as water flow, floor slope, and accessibility to the existing plumbing system. A professional plumber can provide valuable insights and recommendations during this phase. - Choosing the Right Drain
Selecting the appropriate floor drain for the specific application is crucial. Floor drains come in various sizes, materials, and designs, each suited to different needs. Considerations include:
- Material: Common materials include stainless steel, cast iron, and PVC. Stainless steel is durable and corrosion-resistant, making it ideal for kitchens and commercial spaces. Cast iron is robust and long-lasting, suitable for heavy-duty applications. PVC is lightweight and cost-effective, perfect for residential use.
- Grate Design: The grate design should match the intended use. For example, a perforated grate is ideal for areas with small debris, while a slotted grate is better for high-flow areas.
- Size: The size of the drain should accommodate the expected water flow. Larger drains are suitable for areas with significant water exposure, while smaller drains work well in residential settings.
- Preparing the Installation Site
Preparing the site is essential for a successful installation. This includes:
- Marking the Location: Mark the location of the drain on the floor. Ensure it is positioned at the lowest point to facilitate efficient water drainage.
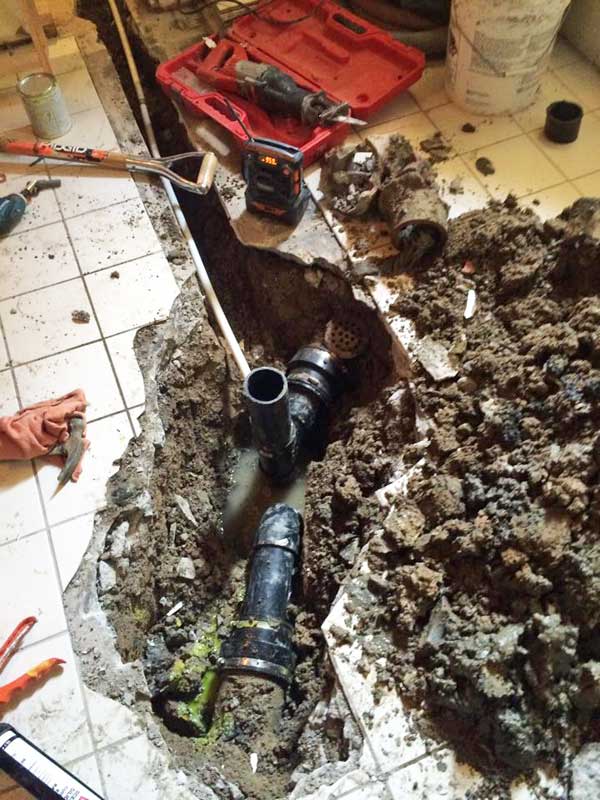
- Cutting the Floor: Using appropriate tools, cut a hole in the floor to accommodate the drain. The hole should be slightly larger than the drain to allow for proper fitting and sealing.
- Excavating the Area: Excavate the area beneath the hole to create space for the drain assembly and piping. Ensure the excavation is deep enough to allow for proper slope and drainage.
- Installing the Drain
The installation process involves several key steps:
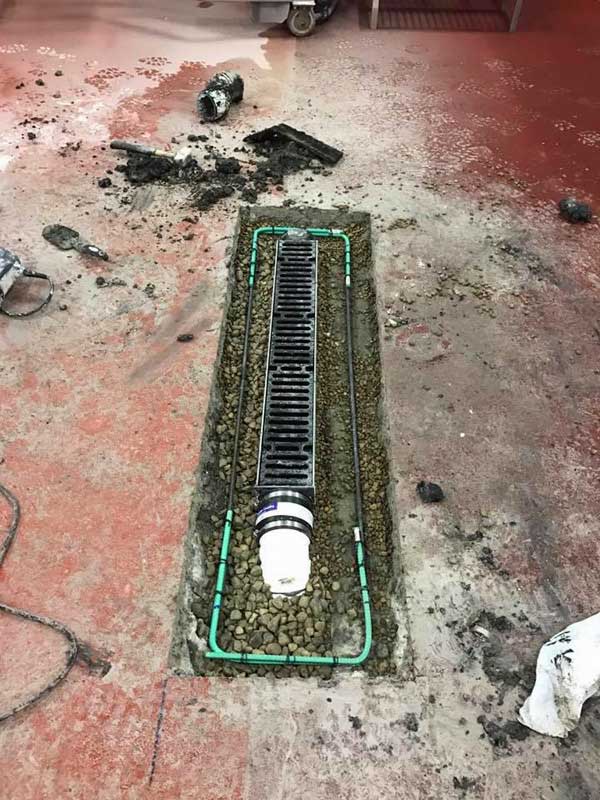
- Placing the Drain Body: Position the drain body in the hole, ensuring it is level with the floor surface. Use a level to verify the alignment.
- Connecting the Piping: Connect the drain body to the existing plumbing system using appropriate piping and fittings. Ensure all connections are secure and leak-free.
- Sealing the Drain: Apply a waterproof sealant around the drain body to prevent water from seeping into the surrounding area. Allow the sealant to dry according to the manufacturer’s instructions.
- Installing the Grate: Place the grate over the drain body, ensuring it fits securely. The grate should be flush with the floor surface to prevent tripping hazards.
- Testing the System
Once the installation is complete, it is crucial to test the drainage system to ensure proper function. Pour water around the drain and observe its flow into the drainage system. Check for any leaks or issues and address them promptly.
Conclusion
Floor drain installation is a vital process for managing water and maintaining a safe, hygienic environment. By understanding the purpose, benefits, and installation process, homeowners and businesses can ensure effective water management and protection against water damage. Whether for residential, commercial, or industrial applications, properly installed floor drains offer versatile solutions for a wide range of settings. Regular maintenance and inspection of floor drains further ensure their continued effectiveness, contributing to a safer and more efficient environment.


