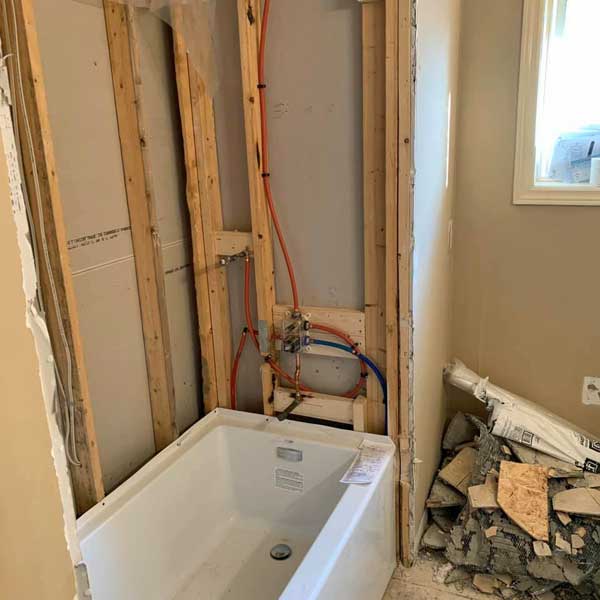
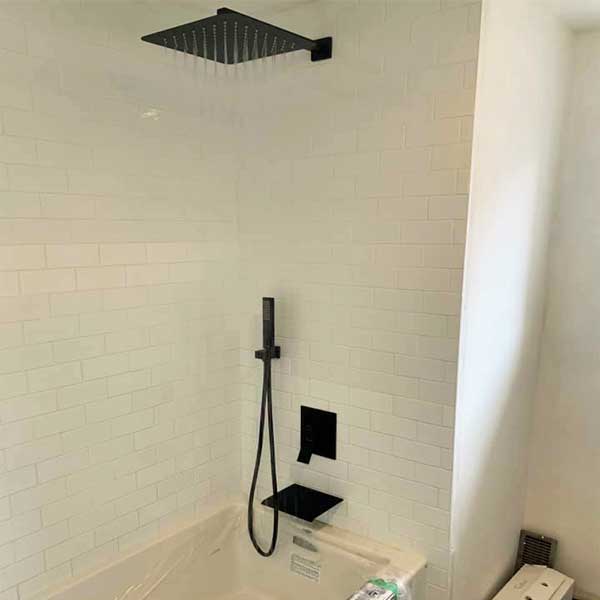
Plumbing Rough-Ins
Plumbing rough-ins play a critical role in constructing and renovating any building. During this stage, we install the basic plumbing infrastructure before completing walls, floors, and fixtures. This process lays the groundwork for the water supply and drainage systems, ensuring that the final plumbing functions efficiently and safely. Proper execution of rough-ins prevents costly and complex repairs later on.
Key Components of Plumbing Rough-Ins
- Water Supply Lines:
Plumbers bring fresh water into the building through these lines. During the rough-in phase, they install the main supply line and branches that will later connect to sinks, showers, toilets, and other fixtures. They must place these lines precisely to avoid conflicts with other building components. - Drainage Pipes:
These pipes remove wastewater from the building. Proper installation and slope are crucial to ensure that water flows away from fixtures and into the main sewer line without any blockages or leaks. - Vent Pipes:
Venting is essential for maintaining proper air pressure in the plumbing system. Vent pipes allow sewer gases to escape and ensure that wastewater flows smoothly. They also prevent traps from being siphoned dry, which can lead to unpleasant odors entering the building. - Shut-Off Valves:
These valves control the flow of water to different parts of the building. Plumbers install shut-off valves at strategic points during the rough-in phase, making it easier to perform maintenance or repairs without disrupting the entire water supply.
Steps in the Plumbing Rough-In Process
- Planning and Design
Before any pipes are laid, detailed plans must be drawn up. These plans include the layout of water supply and drainage pipes, the location of fixtures, and the placement of shut-off valves. Coordination with other trades, such as electrical and HVAC, is crucial to avoid conflicts. - Marking and Measuring
Once the plans are finalized, plumbers mark the locations of pipes, fixtures, and vents on the floors and walls. Accurate measurements are taken to ensure that pipes are cut and installed correctly. - Drilling and Cutting
Holes are drilled in the framing to accommodate the pipes. This step requires precision to avoid weakening the structural integrity of the building. Plumbers use various tools, such as hole saws and reciprocating saws, to create clean, precise openings. - Installing Pipes and Fittings
With the holes prepared, plumbers begin installing the pipes and fittings. They start with the main supply and drainage lines and then move on to the branches. Pipes are cut to length, deburred, and securely joined using appropriate fittings and methods, such as soldering, gluing, or threading. - Connecting Vent Pipes
Vent pipes are connected to the drainage system and routed through the walls and roof. Proper venting is crucial for the system’s functionality and safety, so this step requires careful attention to detail. - Pressure Testing
After all pipes are installed, the system is pressure-tested to check for leaks. This involves sealing the pipes and filling them with water or air to ensure they can handle the pressure without any issues. Any leaks detected are repaired before moving forward. - Inspection
Once the rough-in work is complete and tested, a plumbing inspector reviews the installation to ensure it complies with local building codes and standards. Passing this inspection is crucial before proceeding to the next construction phase.
Common Challenges in Plumbing Rough-Ins
- Space Constraints
Fitting all the necessary pipes and fixtures into tight spaces can be challenging. Plumbers must carefully plan and execute the layout to maximize space efficiency without compromising functionality. - Coordination with Other Trades
Plumbing rough-ins often coincide with other construction activities, such as electrical and HVAC installations. Coordinating with other trades to avoid conflicts and ensure smooth progress is essential. - Code Compliance
Building codes vary by location and must be strictly followed. Plumbers need to stay updated on the latest codes and ensure that all installations meet the required standards. - Unexpected Obstacles
During renovations, plumbers may encounter unexpected obstacles, such as hidden pipes, electrical wiring, or structural components. These challenges require quick thinking and problem-solving skills to address without delaying the project.
The Importance of Professional Expertise
You should avoid tackling plumbing rough-ins as a DIY project. These tasks require specialized knowledge, skills, and tools for correct execution. Hiring a professional plumber ensures efficient, safe work that complies with all relevant codes and standards. Experienced plumbers anticipate potential issues and address them proactively, saving you time and money in the long run.
Conclusion
Plumbing rough-ins form the foundation of any building’s plumbing system. During this critical phase, we install water supply lines, drainage pipes, vent pipes, and shut-off valves to ensure that the final plumbing operates efficiently and safely. We emphasize proper planning, precise execution, and professional expertise to ensure successful plumbing rough-ins. This approach prevents costly repairs and guarantees a reliable plumbing system for years to come.


